
How to Update Your Squarespace Text Preview Image and Description
About this Squarespace video tutorial
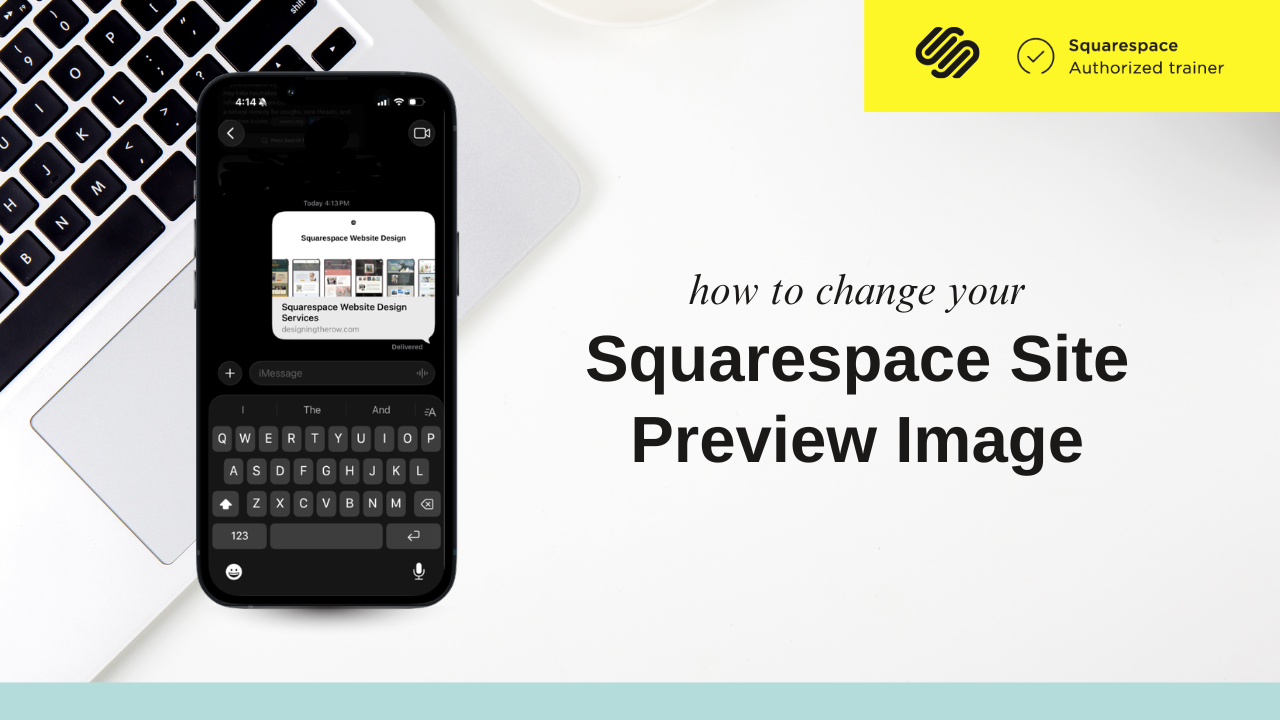
The text preview version of your site is often the first thing a new user will see of your business. Today we’ll go over how to customize it, personalize it for certain pages, and make sure it represents your site exactly how you want it to.
Timestamps
0:00 - Intro
0:17 - How to Change Your Social Preview Image
01:11 - How to Change Your Social Preview Description
01:33 - Customizing for Individual Pages
Want 20% off your new Squarespace subscription?
Subscribe to the Designing the Row® email list and get the exclusive code sent straight to your inbox. You’ll get email updates when new Squarespace tutorials are published, but you can unsubscribe at any time.
If you just shared a page from your website in a text message and it populated a blank, half-empty, or otherwise templated preview link, this tutorial is for you. Social previews are one of the last things people think about with their site, but when you’re sharing your work to other people, it becomes their first impression, and copy or an image that’s outdated can start that on the wrong foot.
How to Change Your Social Preview Image
Once you’re logged in to your site, go to the settings gear in the sidebar and go down to ‘social sharing’ under Website.
Click that and you’ll see the image that’s used for your social share preview if you have one. If you don’t have one, it’ll most likely pull the top image from your homepage, but you can drag and drop a new image into this section from your computer and it’ll populate automatically as your preview.
I will recommend you use a horizontal image because that’s how these social previews show up. I use a screenshot of the top of my homepage myself.
This will function as the social share image for the entirety of your site, not just your homepage.
How to Change Your Social Preview Description
Go back to the ‘Website’ section of settings. You’ll want to go to the ‘Marketing’ section from the left hand side bar and click ‘SEO Appearance’.
The section that comes up automatically will have your SEO Site Description ready to be adjusted at the bottom.
Customizing for Individual Pages
Go to ‘Pages’. Click on whichever page you want to adjust and click on the settings gear for that page in the menu. In the pop-up menu, go down to ‘Social Image’ and you can see the default social image and description that you just set up for your site.
If you’d like to provide an alternate image for this page, right below is ‘Alternate Social Sharing Image (Optional)’ where you can upload your new image.
Under ‘SEO’ you can find a similar field for changing the social share description for an individual page.
I mostly use this for blog posts to carry over the primary image from whichever video that blog is connected to so people can search for the topics that these blogs are about and find them as a valuable asset for my site removed from my regular service packages.
To learn how to customize your mobile site so when users click on these social share links from their phone and get a customized web experience, read here.
*Affiliate disclaimer: Some links may be affiliate links at no extra cost to you.
The latest Designing the Row tutorials…


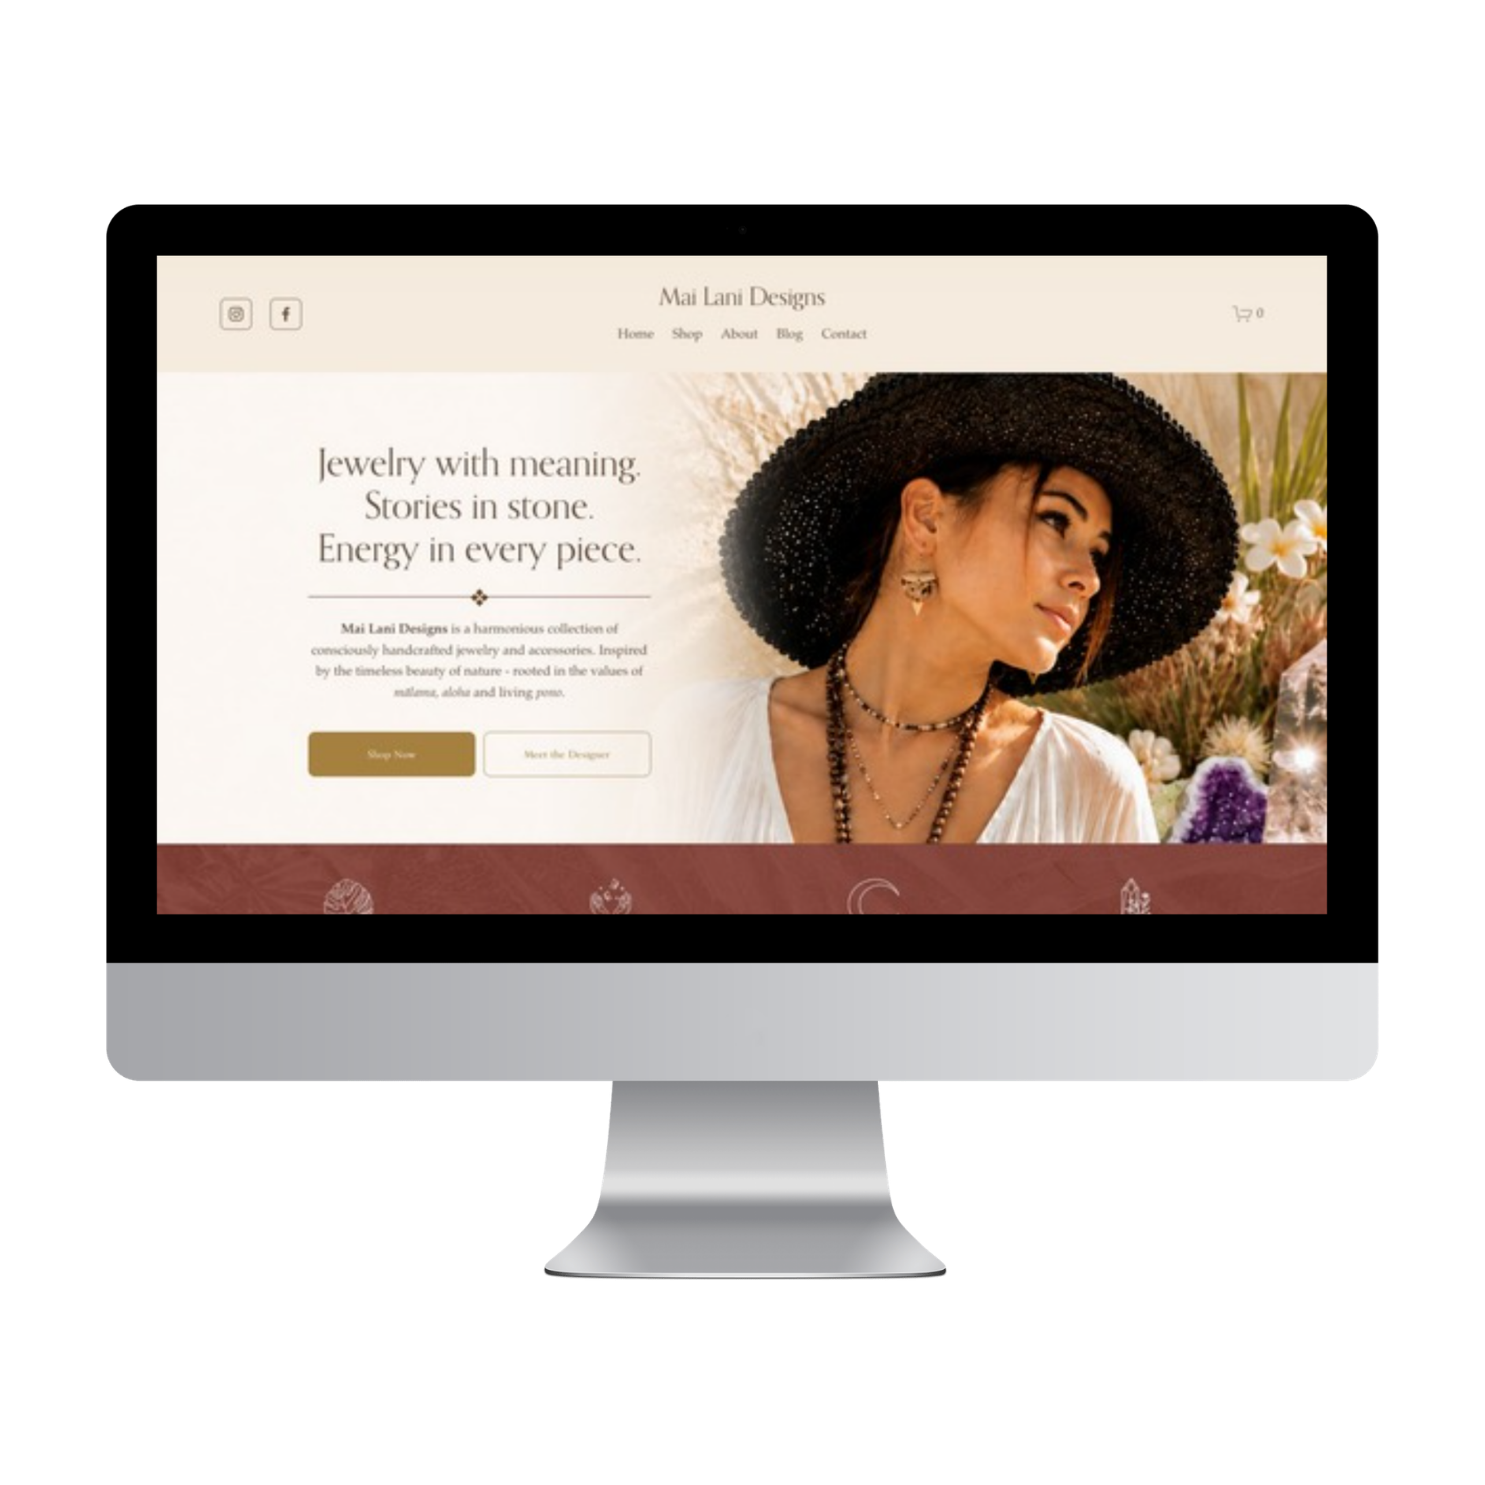
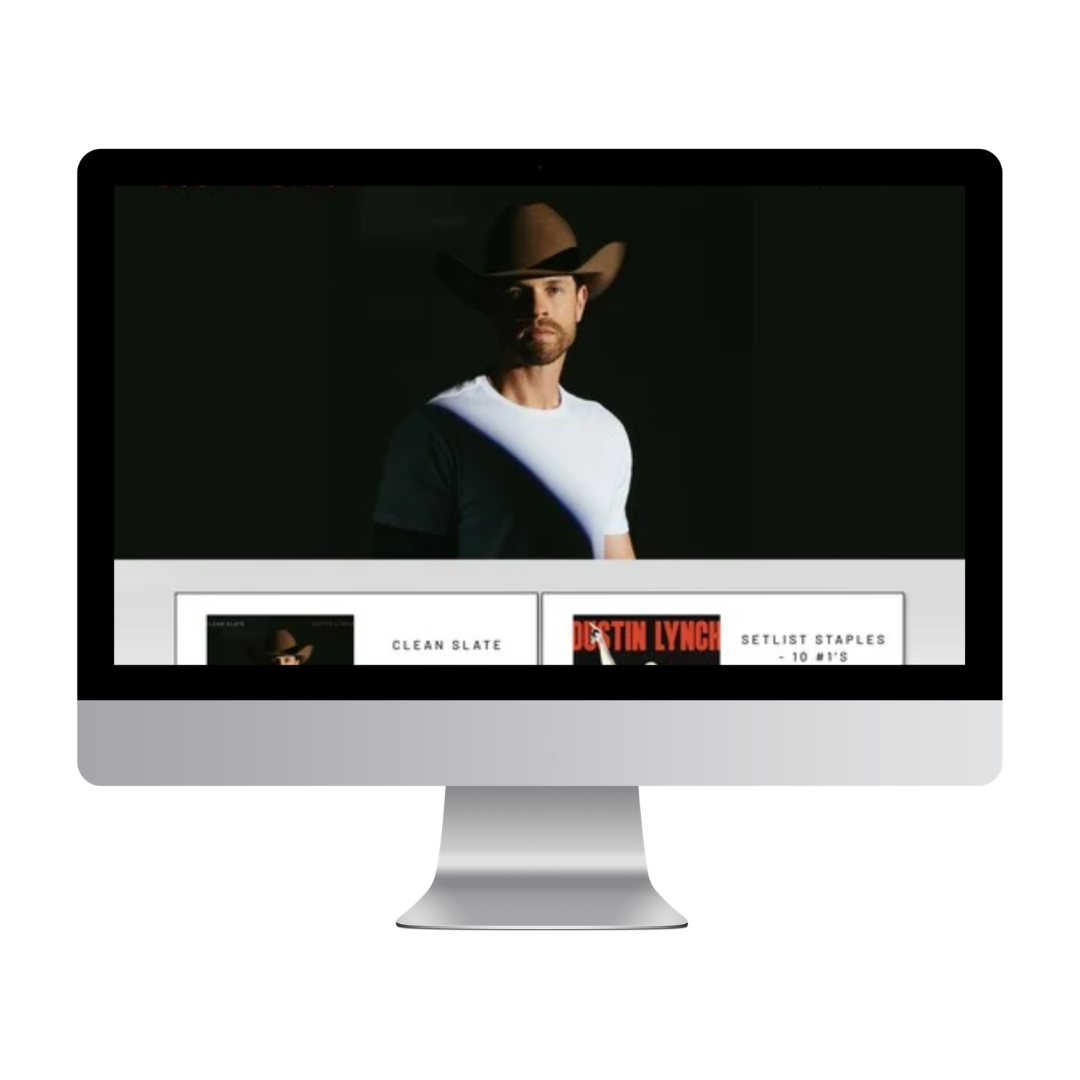

JSM Property Group came to the project with a logo, defined colors, written website content, and a description of the visual direction they wanted. Those pieces gave us a strong foundation, but website design requires determining how all of them actually work together on a screen.